*WARNING* : KITTY: Stay far far away from this post.
While I have spent the past two years living in a tiny dorm room with someone who is *deathly* allergic to nuts of any type… I have yet to be able to shake my addiction to peanuts/peanut butter/almonds/cashews..etc. (sorry Kitty I tried).
So I figure while I’m home for the summer and eating it a lot more frequently, I better be doing it right.
Not only is this probably the simplest recipe out there, but I love the feeling of eating something that you know exactly what is in it..especially when the ingredient list is only one ingredient long.
Other nut butters taste delicious. Don’t get me wrong. But big name brands of peanut butter are more likely than not filled with added sugars and hydrogenated oil, which do make the product more shelf stable, but are also linked to diabetes, obesity, and coronary disease. Nobody’s got time for that, am I right?
So I wanted to take matters into my own hands: hence, this DIY.
All you need is:
- 2 Cups of Peanuts (Or nut of choice)
(Yes thats it)

This will yield a little less than two cups of finished peanut butter, so you can adjust how much you want as needed!
I used already roasted shelled peanuts, and honestly regretted it after having to crack them for 30 minutes…So I recommend buying raw unsalted peanuts already out of the shell and putting them on a baking sheet and roasting for 15 minutes. Roasting them will give the final product a much richer taste.
Next step is to put them in the food processor! And do nothing.
Hah only kidding, but you’re basically done!
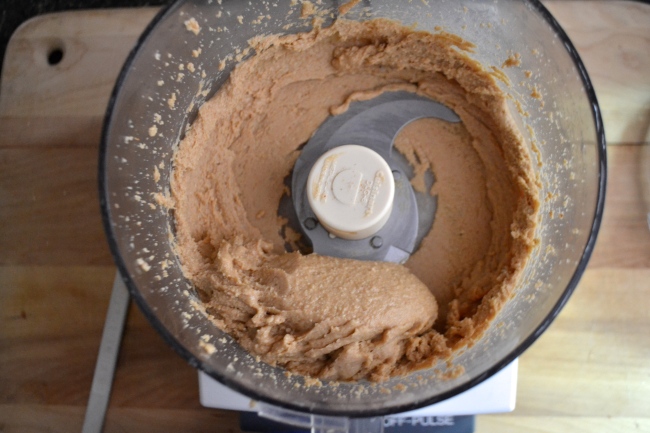
Pulse the food processor for about a minute.. the peanuts will look finely ground.
Turn the processor on for 1 minute. Turn it off, scrape the sides, and do it again.
You’ll want to keep repeating turning it on for 1 minute, and turning it off to scrape down the sides to make sure it’s all fully mixed. You’ll only need to do this about 3 times.
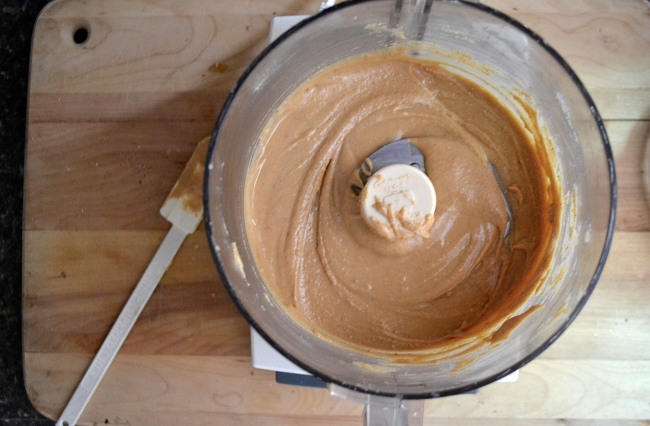
After grinding it three times, the peanut butter will get to this state. Turn on for two more minutes! Your mixture might turn into a larger dough like looking ball at some point in the mixing, but it will smooth out again on its own and this means its almost done!  Keep processing until its smooth and creamy! That’s it! A little taste tasting throughout never hurt anyone either 😉
Now of course homemade peanut butter won’t be quite as smooth as big store name brands, but it is so much more simple, peanuty, and delicious!!
Variations:
- Honey: Add 1 tablespoon honey until thoroughly combined
- Chunky: Add 1 cup finely chopped peanuts to finished nut butter.
- Maple: Add 1 tablespoon maple syrup until throughly combined.
- (You could even mix in some Nutella if you’re feeling a little dangerous!)
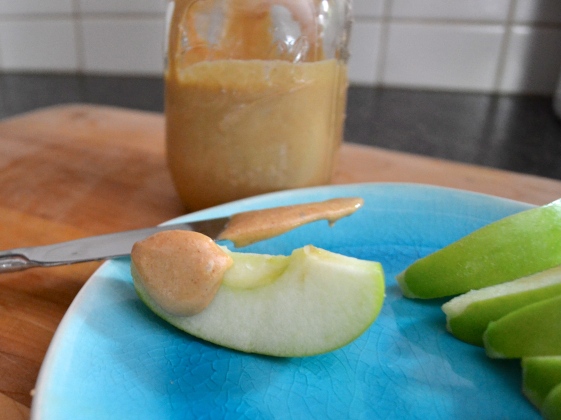
I put mine in a larger mason jar with a lid, but any airtight container will suffice! It will keep in the refrigerator for about 4 weeks.
And just when I thought my nut butter addiction was bad enough…
 I just can’t get enough of this stuff! I’ve been putting it on everything. And it’s not a guilty feeling when it’s healthy, natural fats!
So easy, so simple, so delicious.
Love you all,
xo C


Excellent!!
Now make homemade Vegan Cream Cheese
Tofu makes it possible.
http://bit.ly/1mXuuhX
glad im still here today to be able to comment on this post after your intense, unstoppable nut addiction ❤
xo, K